As the Spring semester begins, you may be have heard from students that your course banner is not displaying. It’s true – unfortunately, due to a glitch in the Blackboard upgrade that occurred over winter break, most course banners are not displaying to students and need to be re-uploaded. It’s important that you re-upload your banner even if it displays normally to you, because it may still not be appearing to your students.
There are instructions on how to replace your banner below, but you can also watch this short video tutorial covering the same information.
The first thing you need to do is get the image file for your banner. If it is saved to your computer, you’re all set and can jump to the instructions below. If not, you can download your banner file either from your Spring 2017 site (if it is visible to you there), your Dev site, or a previous live (semester) site.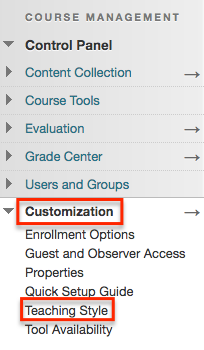
To download the banner file, go to the Announcements page. Right click on the banner image, select “Save Image As” and save the image file to your computer.
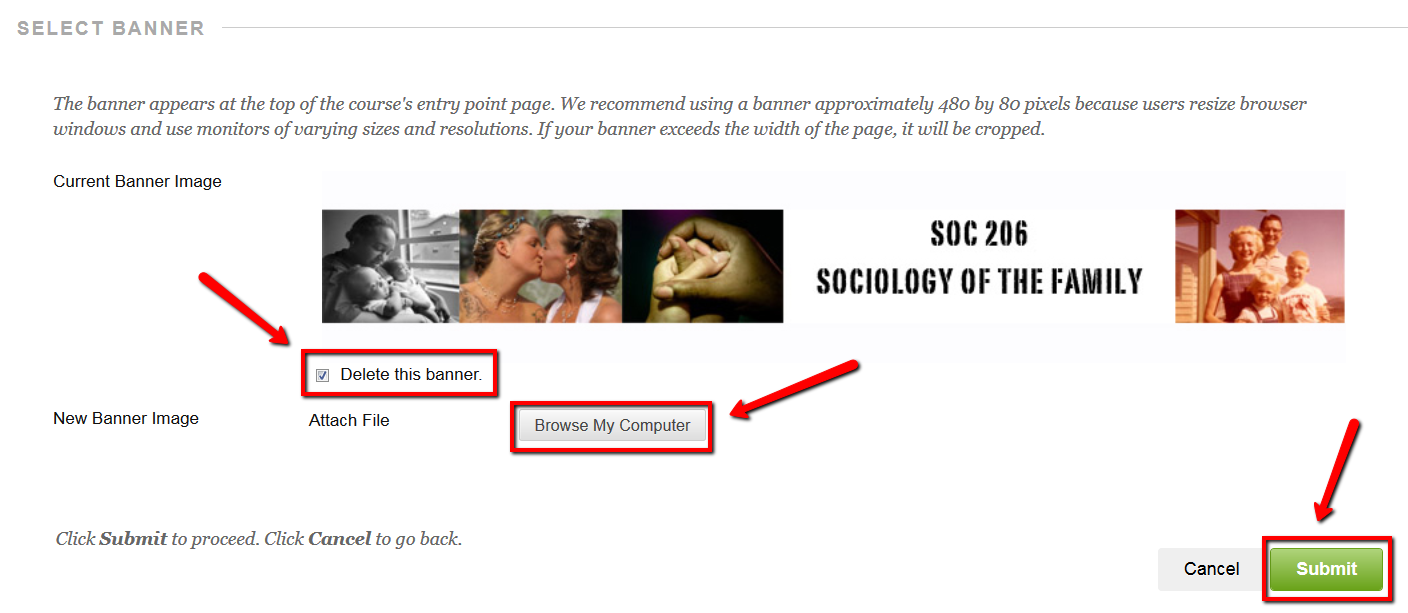
To re-upload the banner to your Spring 2017 site, scroll down to the “Control Panel” on the course menu. Click on “Customization,” and then on “Teaching Style.” Scroll down to the “Select Banner” section. Tick the box that appears next to “Delete this banner” and click on “Browse My Computer.” Select the file for your banner and click “open” in the pop-up window. Then click on “Submit” to save the banner file in your course site.
 Please get in touch if you have any questions about this issue, or the steps described above.
Have a great start of the semester!
Antonia & Krystyna